
Make Your Own Dojo U Style Water Manometer

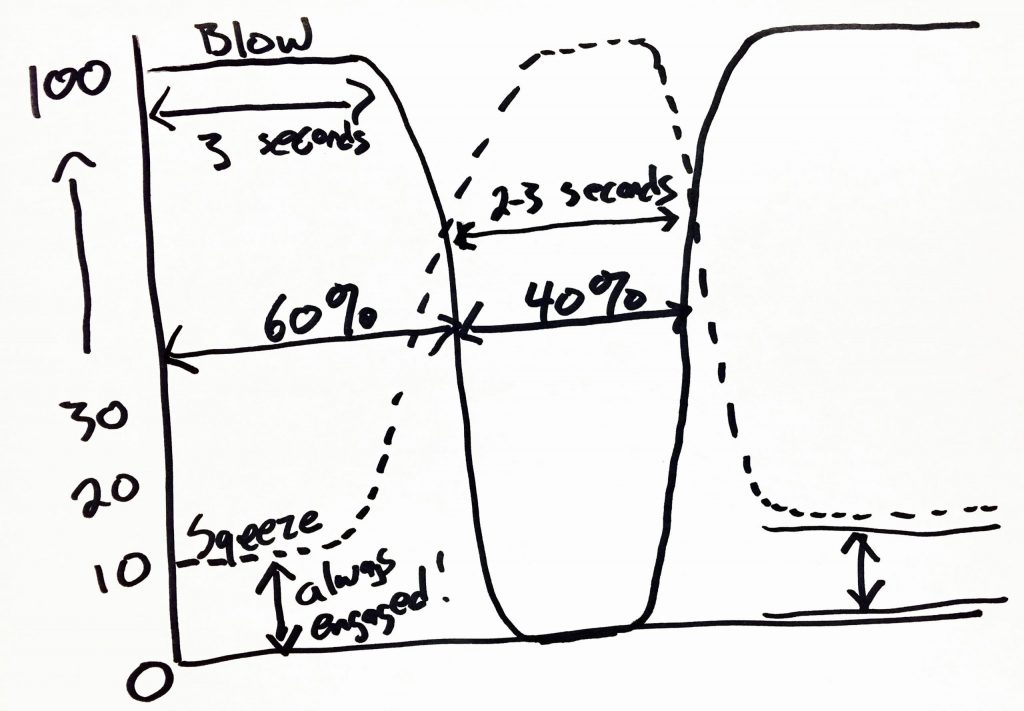
The Dojo University water manometer is a tool that can help us to achieve several essential goals in piping, including blowing at the chanter reed’s sweet spot, calibrating our drone reeds, helping us to learn steady blowing mechanics, and identifying and eliminating dreaded mental blowing anomalies!
If you live in the USA, you can buy a ready-made manometer from Hendersons. However, if you're into DIY or if you live out of country, it takes just a little effort to make your own.
Water Manometer Construction Video
Detailed Instructions:
The following supplies should be readily available at most hardware or home improvement stores. US customers can also purchase them using this Amazon list.
- 20 feet of 5/16" ID, 7/16" OD Clear Soft PVC Plastic Tubing
- One Black rubber stopper (size 0 or 1) with a hole that fits snugly into the top of one of your tenor drones. If you can not find a stopper with a hole, you can purchase a stopper without a hole and use a drill to make one (freezing the stopper before drilling helps).
- One brass or plastic straight tubing reducer that will go from 5/16" to 1/4" Tube ID. If you can not find a reducer, buy a ¼” coupling and use hemp to fill the additional space on one end.
- Two plastic tubing 90 degree elbows for 5/16" Tube ID to prevent a “kink” at the top and bottom of the manometer.
- Nine (9) plastic zip ties to secure the tubing to itself preferably of different colors (we use 6 white, 1 red, 1 green, and 1 blue)
Direction for Building a Manometer:
- Cut the following pieces: Tube 1 = 70 inches, Tube 2 = 71 inches, Tube 3 = 8ft 3in.
- Grease couplings and elbows with a tiny bit of silicone grease.
- Lay out all 3 tubes on a table with the shortest one in the middle and the longest one furthest from you.
- Attach Tube 1 to Tube 2 using 90 degree elbow on the left side (bottom of the manometer).
- Attach Tube 2 to Tube 3 using a second 90 degree elbow on your right (top of manometer).
- Grease 1/4" side of coupling and press into size 1 or size 0 cork. This will require some effort!
- Fit the other end of the Coupling to the open end of Tube 3.
Zipties:
- Using 4 white Zip Ties Tie the Bottom (left side) of Tube 1 to Tube 2 (about 8 inches apart). Zip ties should be snug but not crimp tube.
- Fit one Blue zip tie to mark the water level 35 in from bottom.
- Fit one white zip tie about 6 inches above the blue one.
- Add 1 loose green and 1 loose red tie above the last white tie. These need to be adjustable but not falling off.
- Tie together Tube 1, Tube 2, and Tube 3 at the top using one white zip tie.
- Trim zip ties flush with housing.
Adding Your Liquid:
Pour some water into the manometer from the open end of the tubing, (not the stopper end!) so that there’s about 3 feet of water going up both sides of the tubing. This should be enough liquid so that it is unlikely to “blow” the water all over your ceiling! You might be tempted to add food coloring to make the water more visible, but you might also end up with an irksome clean up job ahead. Instead of water, a blue colored window cleaner works great for enhanced visibility. Hang the manometer in a convenient location on a wall or a door. The hang spot is from the plastic elbow. See video.
Attaching To Your Pipes:
Insert the stopper end of the tubing securely into the top of a tenor drone. Any drone will do, but the outside tenor because of its easier access. Also, for more accurate “readings”, it is advisable to remove the drone reed from the drone. This assures that there is nothing obstructing the flow of air anywhere from the inside of the pipe bag, all the way to the liquid.
The manometer works by allowing the air pressure from inside the bag, up through the drone, and into the tubing, where the air pressure then “pushes” down on the liquid, making it rise up on the other side. You're now ready to employ an excellent tool for diagnosing and improving your sound production on the bagpipe. There are several videos here at Dojo U to instruct you in manometer use and how to get the most out of it.
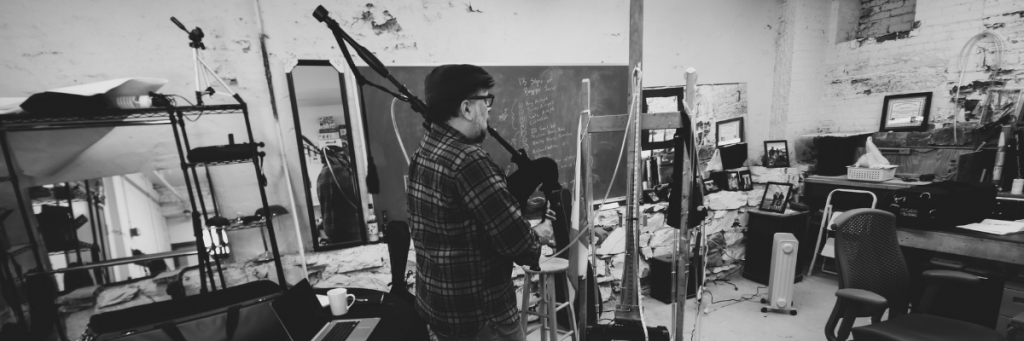
Excellent diy, I set my pipe bag up with an adjustable release valve, now I essentially have a "bagpipe simulator" and can practice steady bag technique living below my landlord! It feels so close to playing, its like cheating the music gods. Going to stick the blair digital chanter with a custom bracket to the bag and can practice the GHB in complete silence. No cops... no eviction notices!